When we were first contacted about a large, semi-detached, “family home” situated on a busy street, that happened to have a self-contained basement apartment, and was rented out for the last half-decade, we immediately figured that there was work to be done in the home. The market was red-hot at the time, so this house could have been sold in its current condition, but not easily, not without the prevailing seller’s market leverage, and not for top dollar. In this blog we share exactly how we transformed this diamond-in-the-rough to a shining gem.

First impressions
When we first met with the homeowners, we marvelled at the sheer size of the home. Unlike most houses in the area which date back to the 1940s or ’50s, this one was built in the 1980s. So while many of the features of the house that you could change, like kitchen cabinets, floors, or lighting, showed their age, the features that you couldn’t change, like ceiling heights or floor plan, gave this house a massive leg-up on other detached homes in the area.
Our analysis
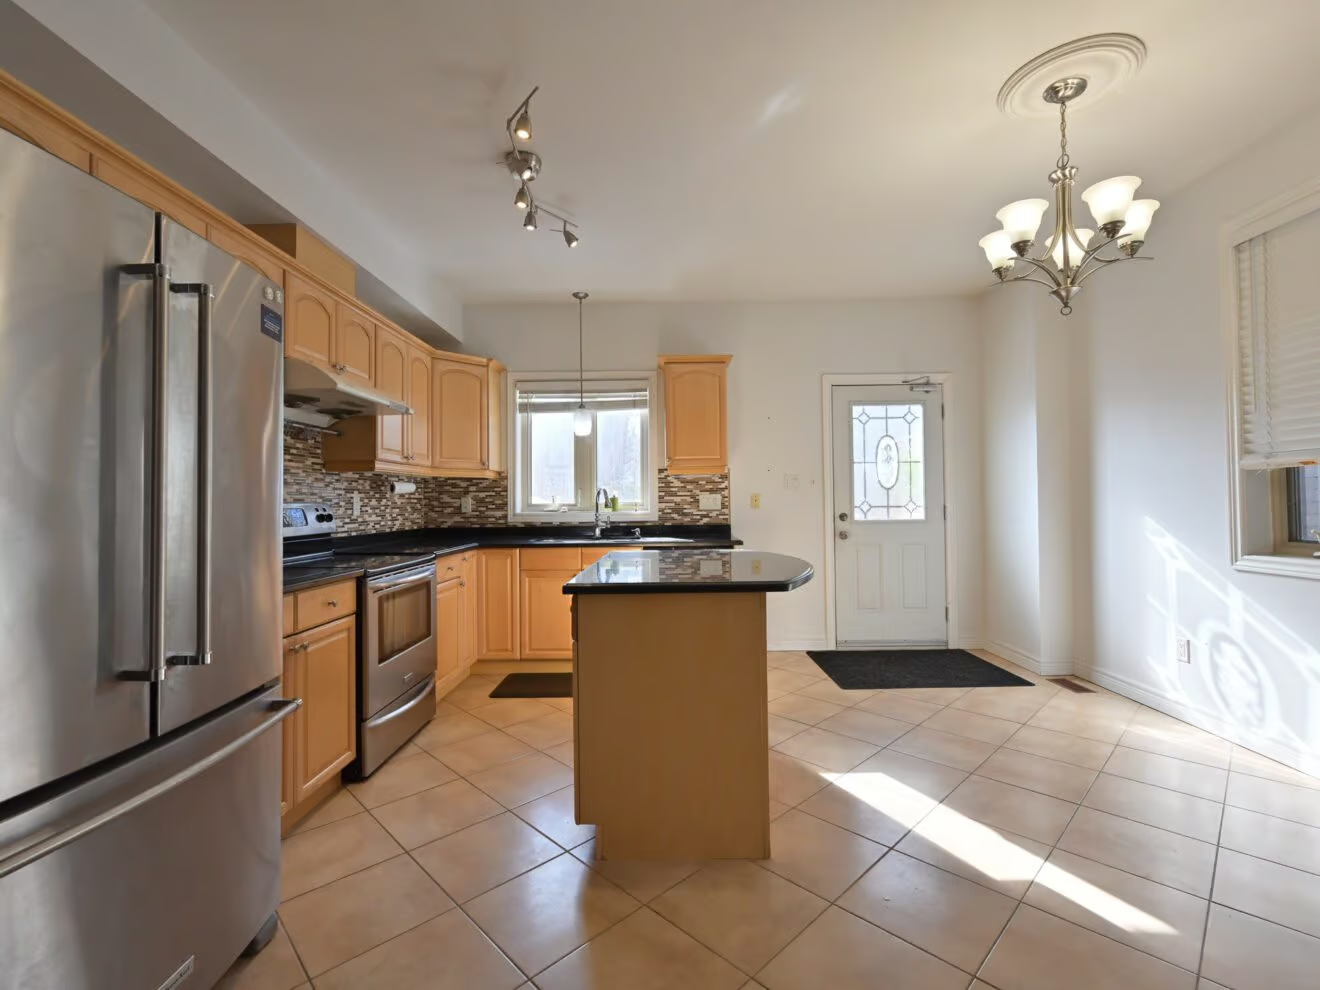
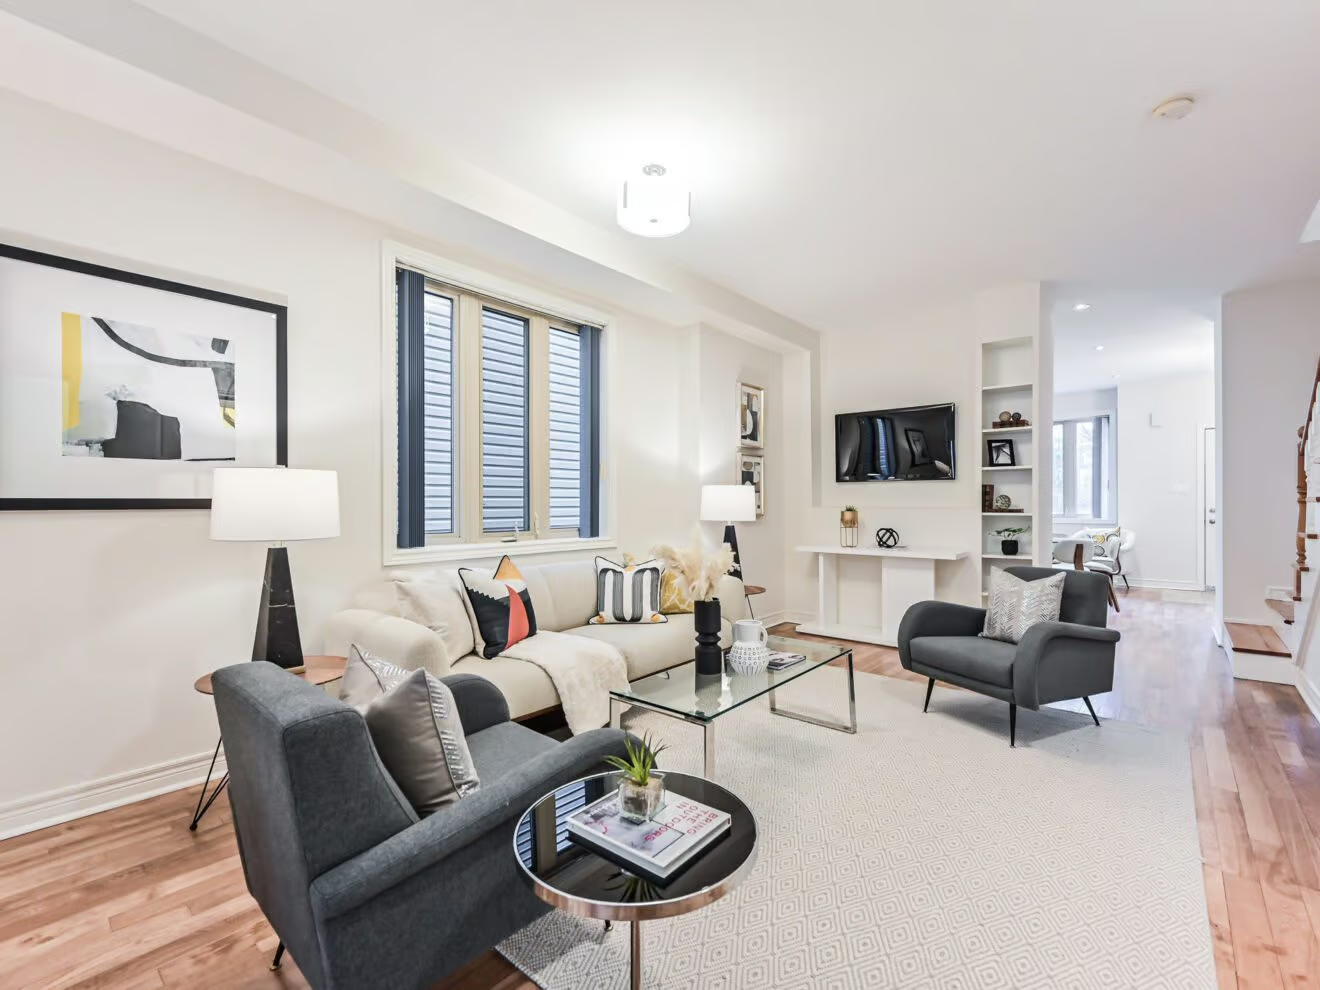
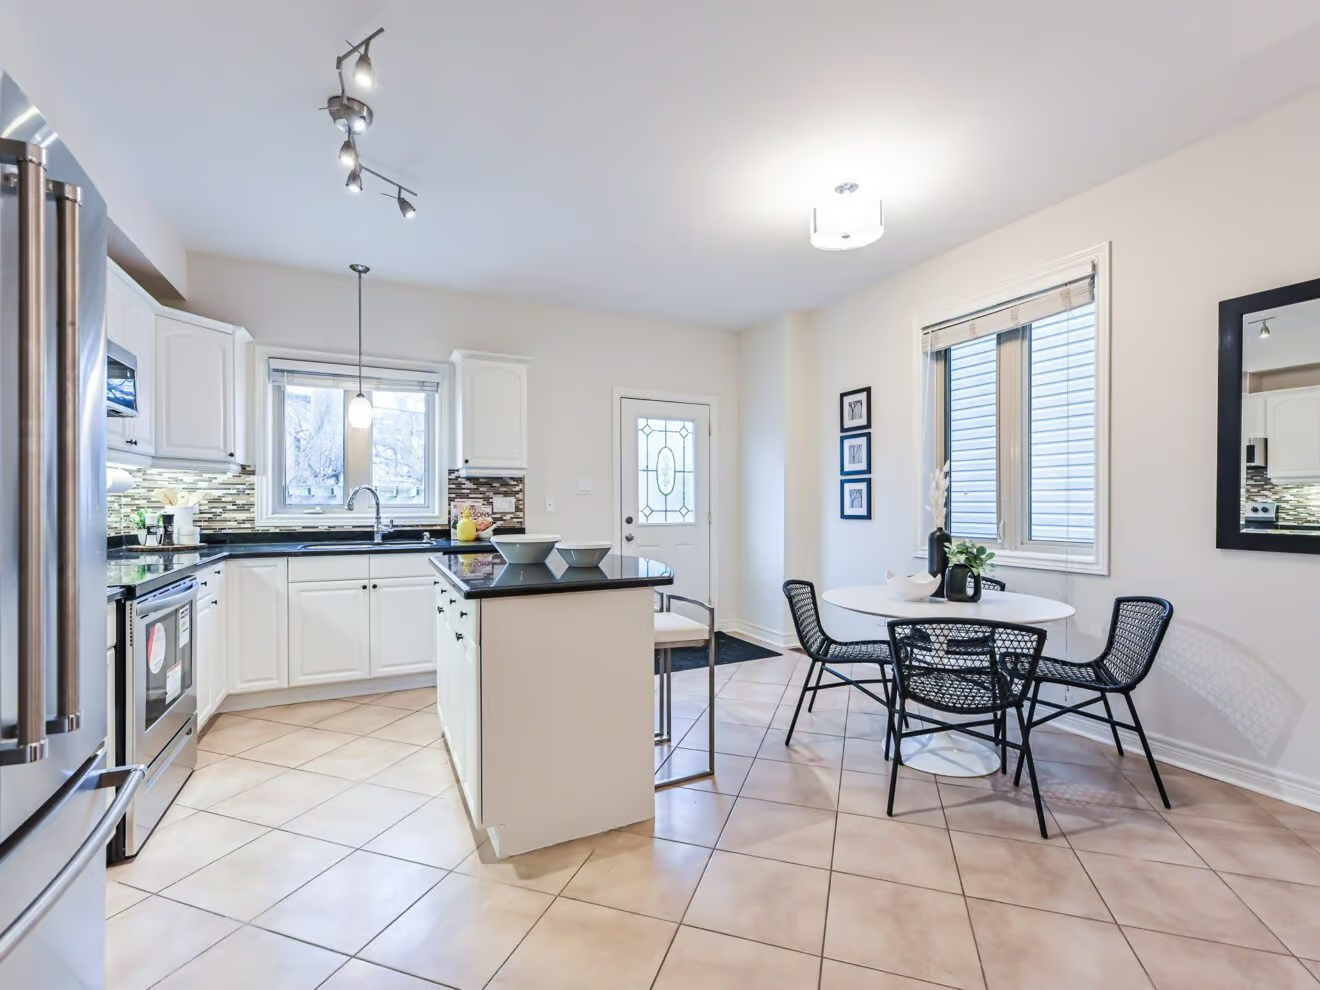
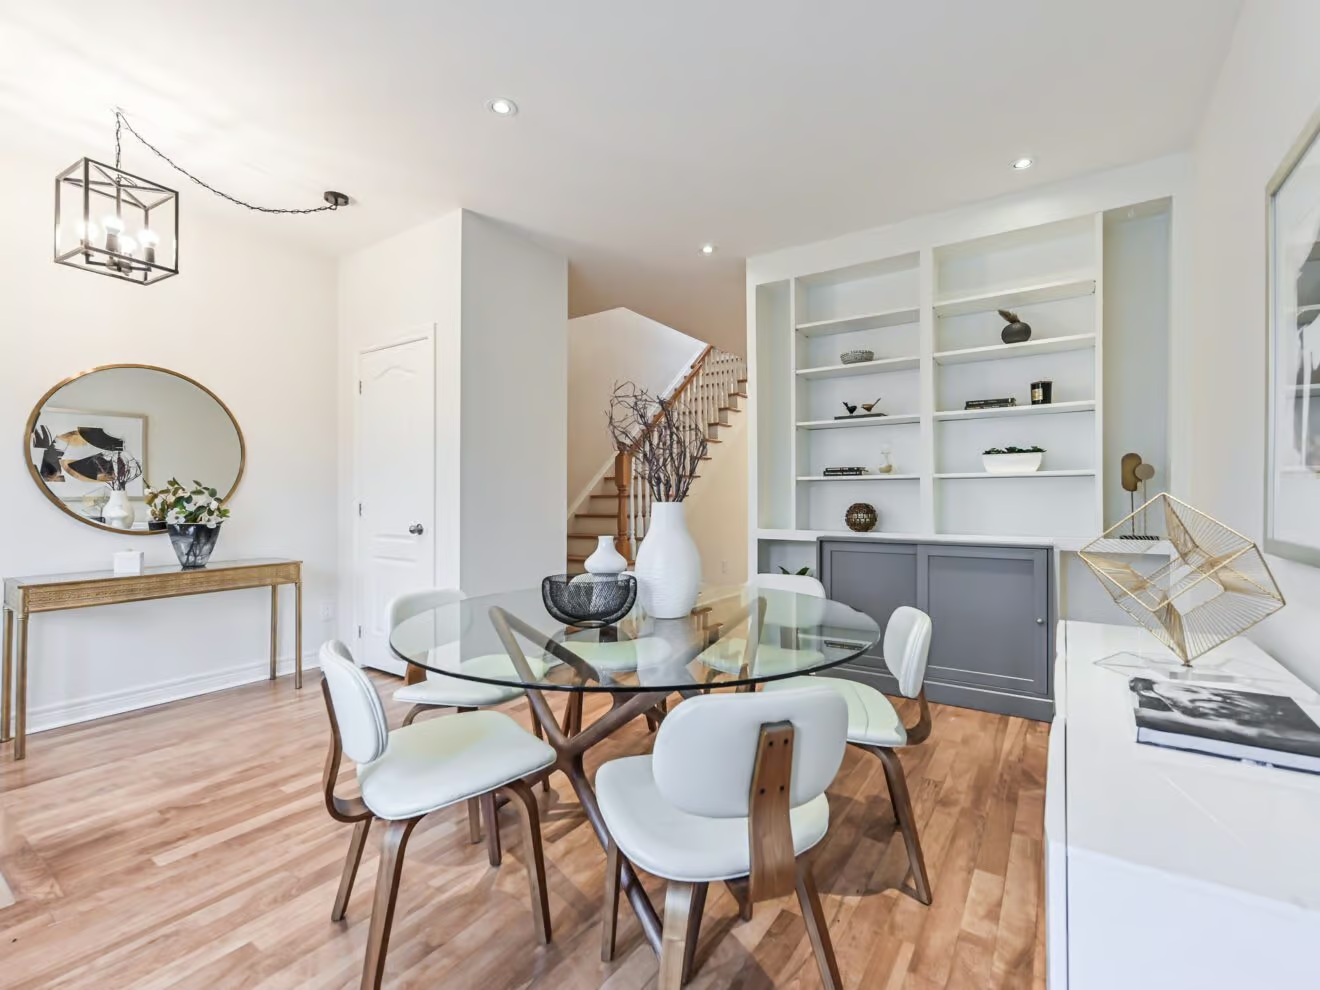
This house absolutely dwarfed the house next door or the house across the street in size, but it lacked the polished look-and-feel that so many of the best-selling houses in the areas had. The main floor was completely open concept, save for one free-standing wall that was necessary to give the house a little separation, and the separate living and dining rooms were twice the size of what you’d expect in a comparable home. The kitchen was large, with an island, and even an eat-in breakfast area.
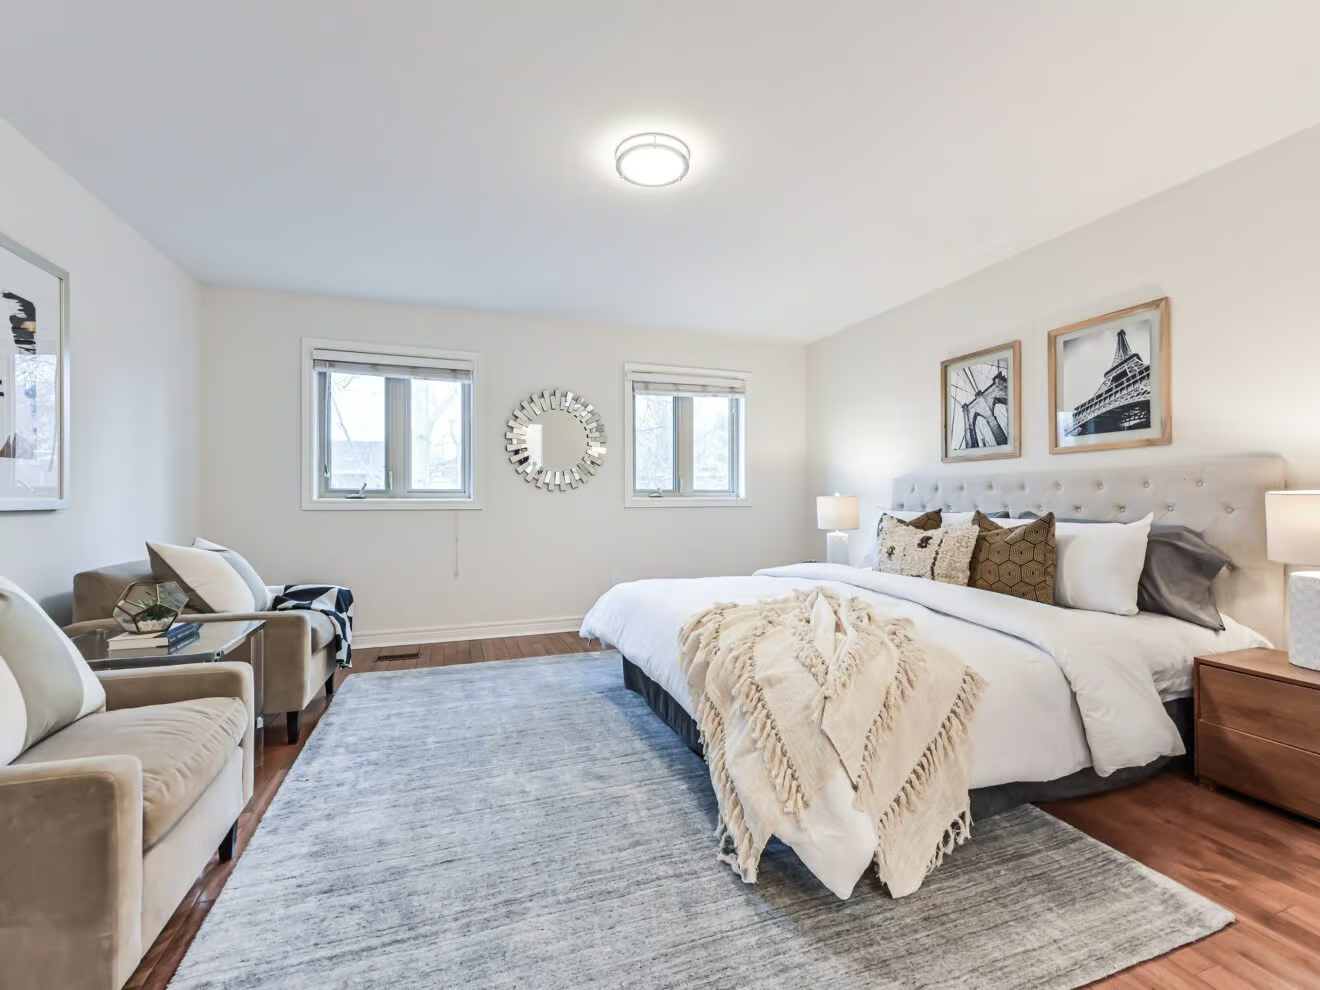
The second level featured three massive bedrooms, and the primary bedroom had a 4-piece ensuite bathroom, which gave this house a leg-up on your typical 3-bed, 2-bath semi-detached homes. The basement was separated into two sections: a storage room, furnace room, and laundry at the front, all accessed from the main house, and then a large one-bedroom basement apartment at the back of the house, accessed from a rear staircase.
Considering a property sale? Book an evaluation with our team here.
Overall, the home was tired, beaten, and worn. That’s not unkind; it’s simply true. Tenants had been in and out of the house for years and while the structure was in great shape, the systems were newer, and the space was absolutely fantastic, the house was now completely empty, cold, and damaged.
Expectations and approach
The homeowners said they wanted to list the property right away and that they spoke to another agent who said, “This property will sell immediately.” Perhaps it would have sold immediately. But for what price? We gave the sellers an opposing view; one that would mean far more work on our parts, but that would provide an exceptional return for them. We told them that they should invest in the home. We explained that whether they chose to spend $10,000 or $50,000, we could work within their budget and identify the best ways to spend money to renovate, refresh, and revitalize the space.
Budget
The initial budget was about $35,000-$40,000, and when the estimate came in at $42,000, the sellers gave us the green light. Our timeline for the work would be three weeks, and since we had already booked our construction cleaning, staging, photos, videos, home inspection, and window cleaning, we absolutely had to adhere to this strict timeline.
Execution
Walking through the home, we identified areas where they could invest in cosmetic upgrades and explained how long it might take, and what it might cost.
Initial Repairs
First and foremost, the entire house needed to be painted, including baseboards, trim, and doors. Fingerprints, smudges, furniture marks, and some “tenant-holes” (which is what we call large damage from lord-knows-what, caused by tenants) dominated the entire home. Painting the house was a no-brainer, and painting is actually the best money you’ll ever invest in a home.
Lighting
Every light fixture in the house was old, many were originally white but had yellowed, some were ugly, and some were broken. There were 17 light fixtures in the home, but with some frugal perusing of Home Depot and Lowe’s websites, we were able to replace all the light fixtures in the house in a cost-effective manner.
Flooring
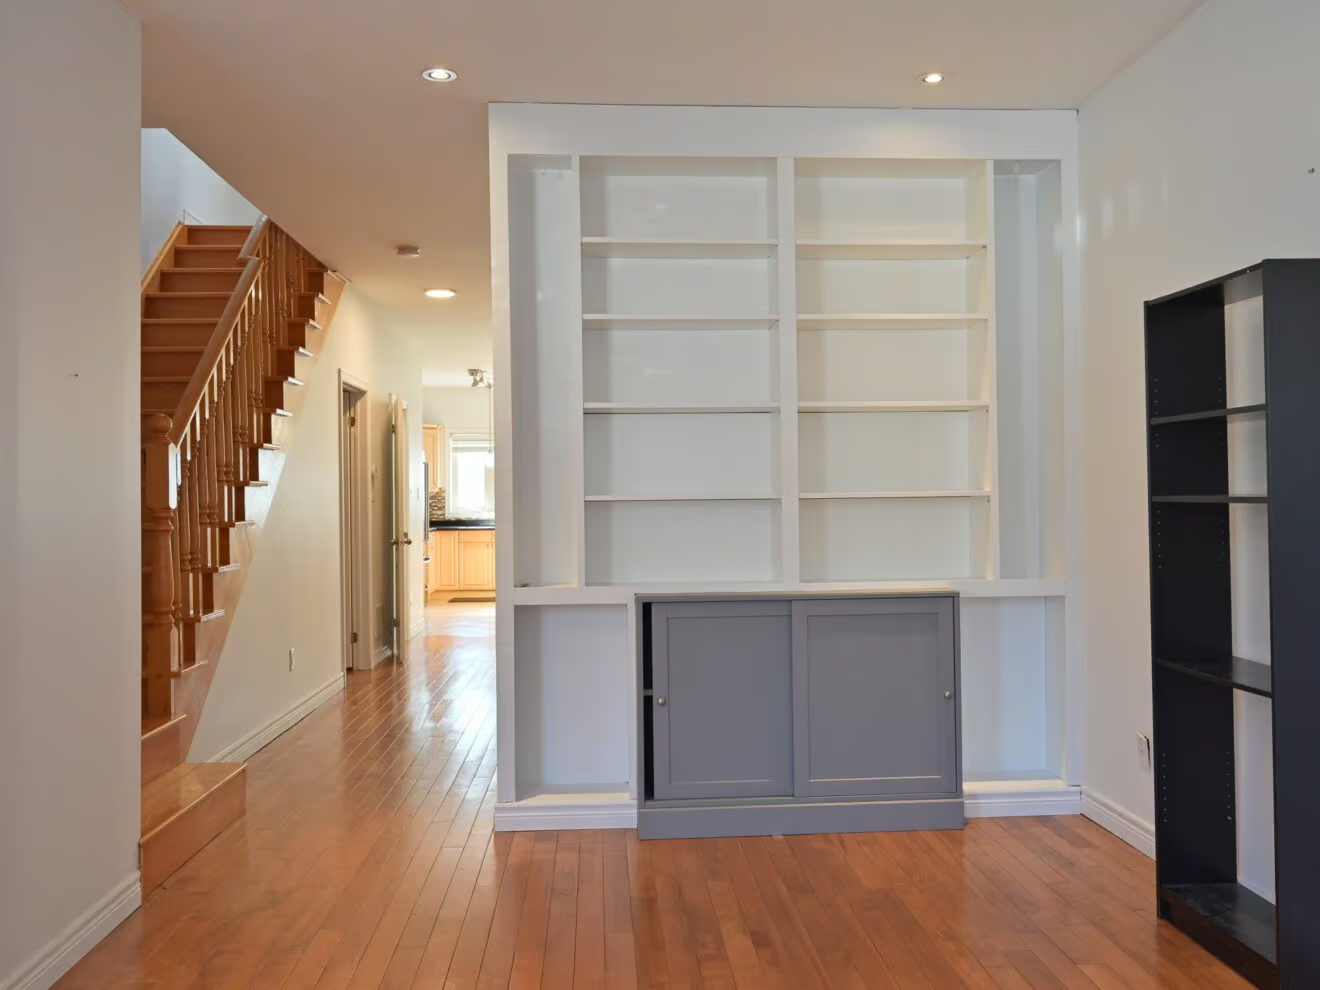
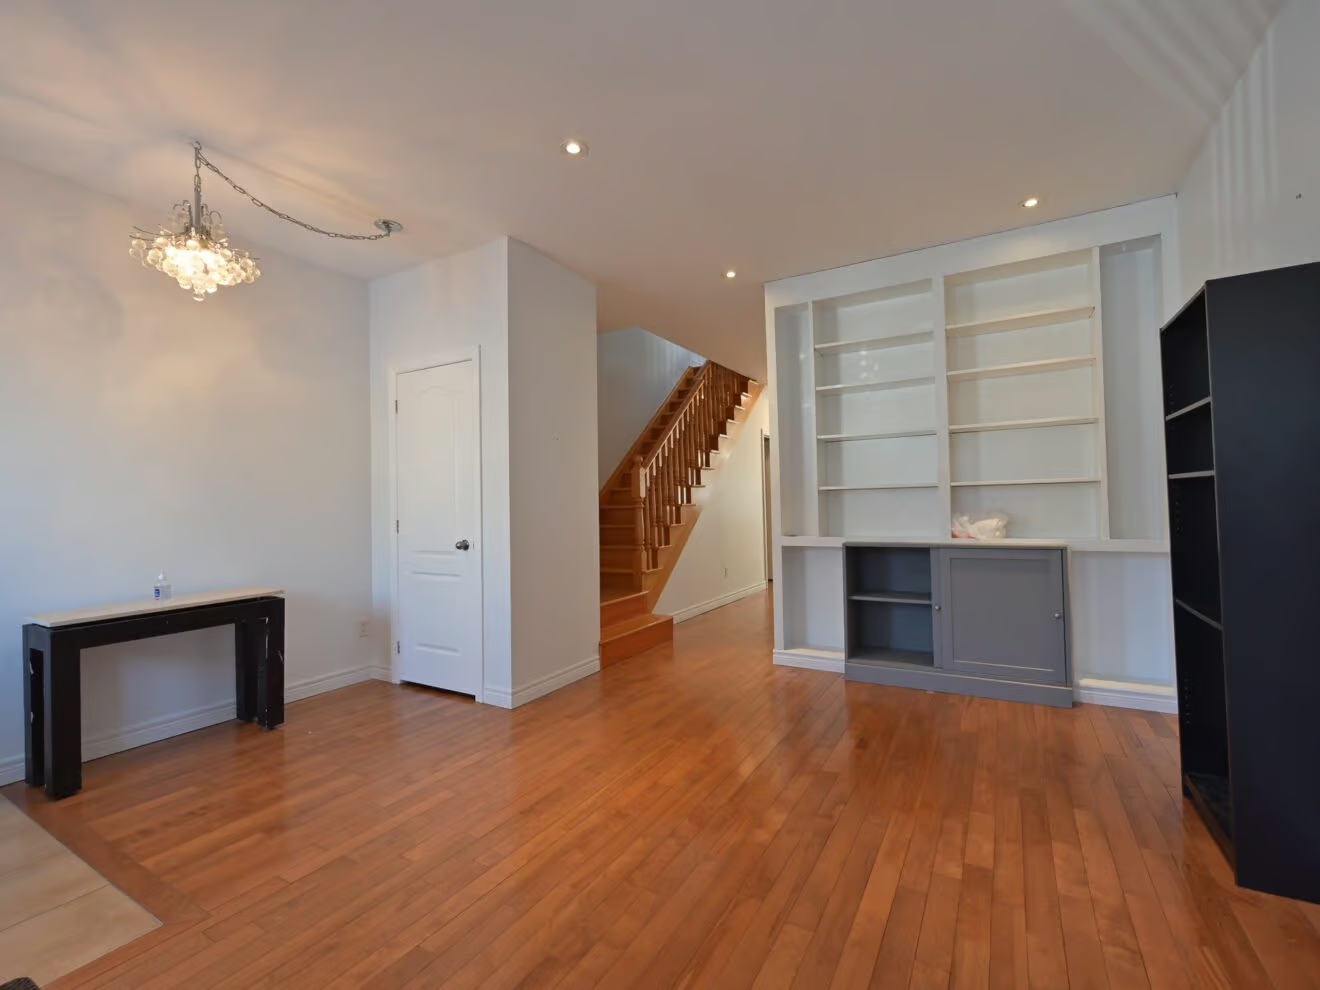
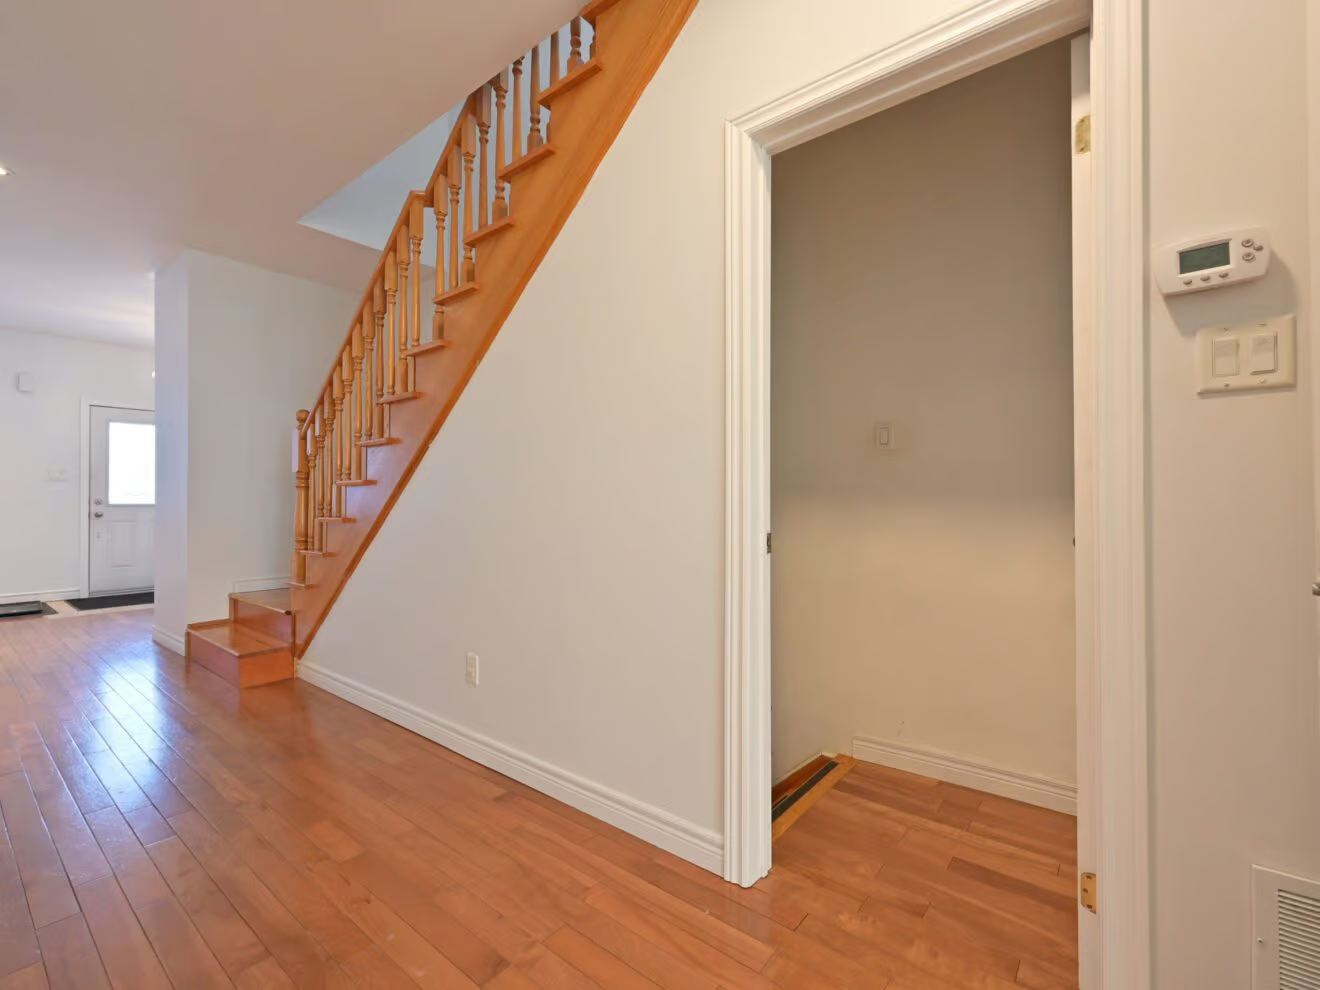
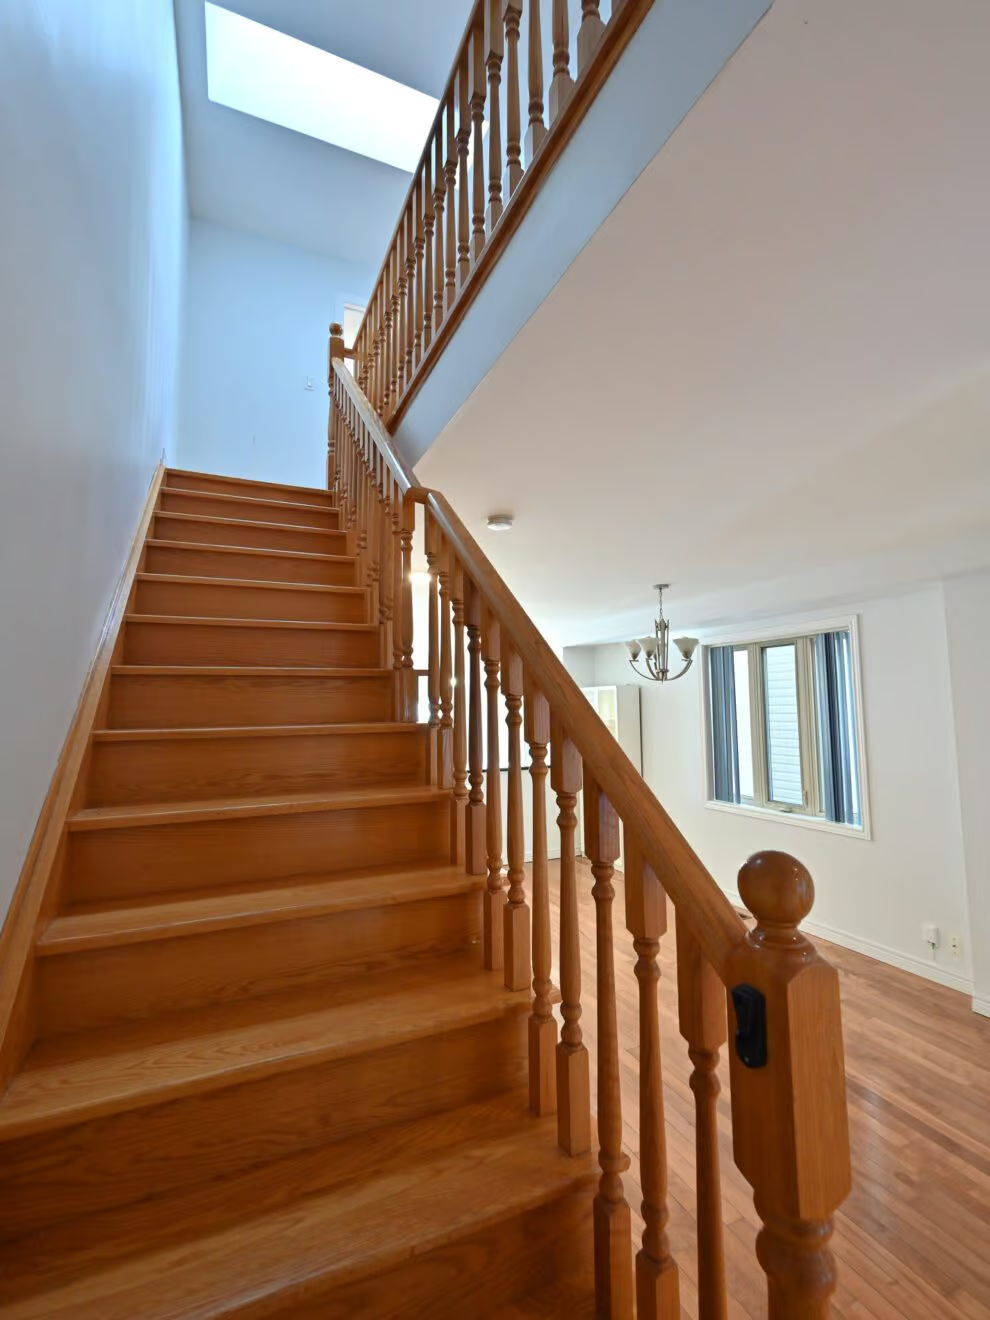
The hardwood flooring on the main level of the house was in rough shape. For one, it was a very out-dated colour, but more importantly, it was severely scratched as one of the previous occupants clearly had a dog—or two. So we planned to have the floors sanded and stained. We also decided to work on the attached staircase, which featured the same out-dated stain colours as the floors. The stairs were a different material than the flooring, so it allowed us to simply paint the steps, but leave the risers the original colour, and paint the handrail, newel post, and trim.
Bathrooms
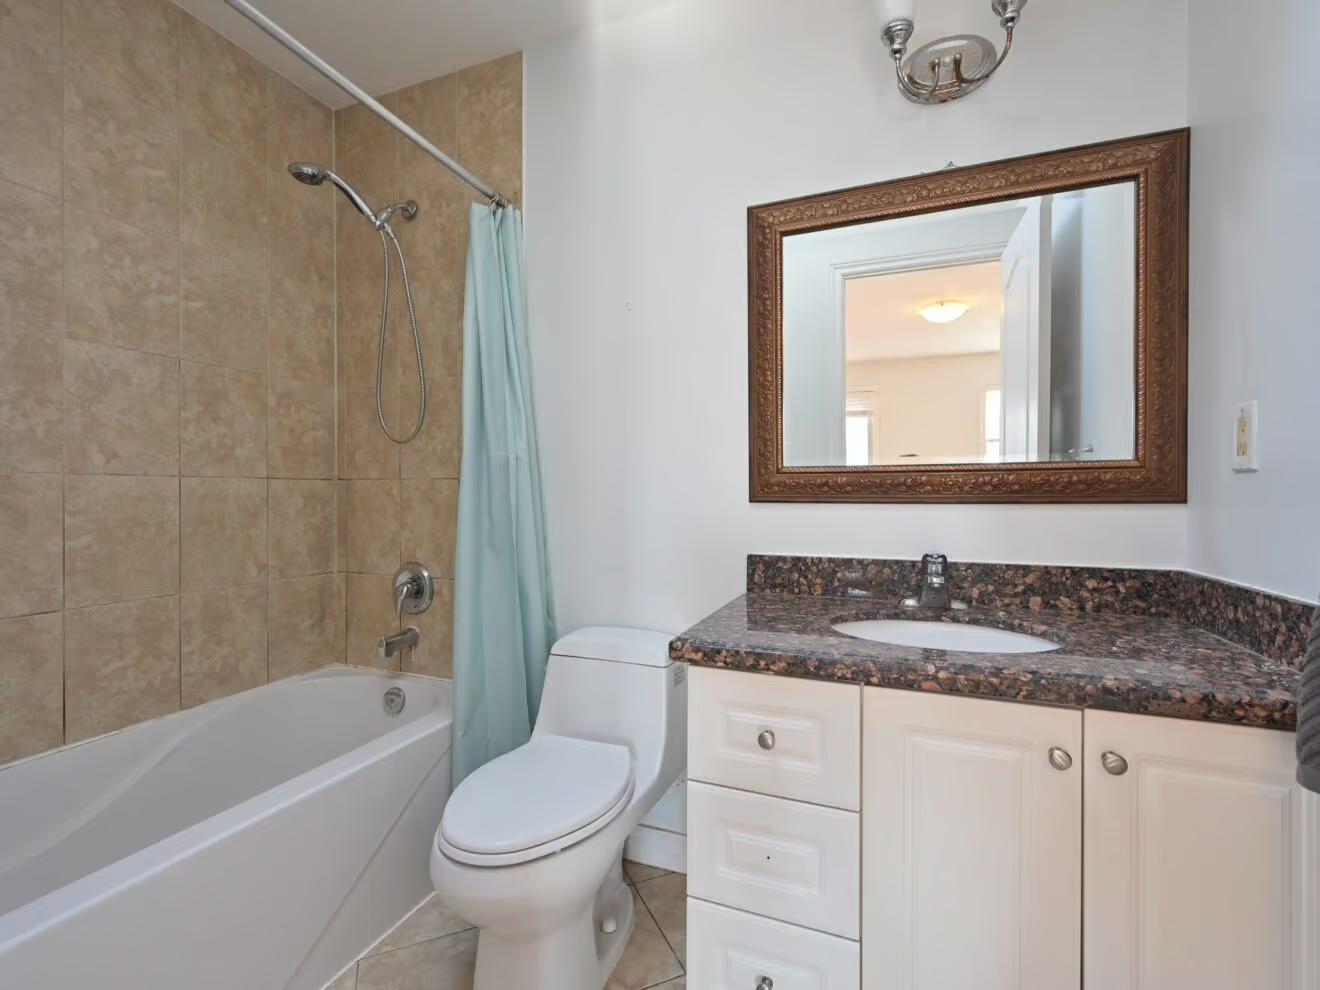
The bathrooms were in very rough shape but tearing up floor tile is messy, expensive, and time consuming. We decided that each bathroom would greatly benefit from a new vanity, with accompanying new faucet. We also stripped the large, glued-on mirrors you’d expect to find in an older condo, and replaced them with hanging mirrors from HomeSense which were bought at a nominal cost. The light fixtures were changed in each bathroom as well, and they were both painted. So when all was said and done, the tiles were the same, but enough was changed to give the bathrooms a completely different look.
Read more about our staging expertise here to learn how we transform your property.
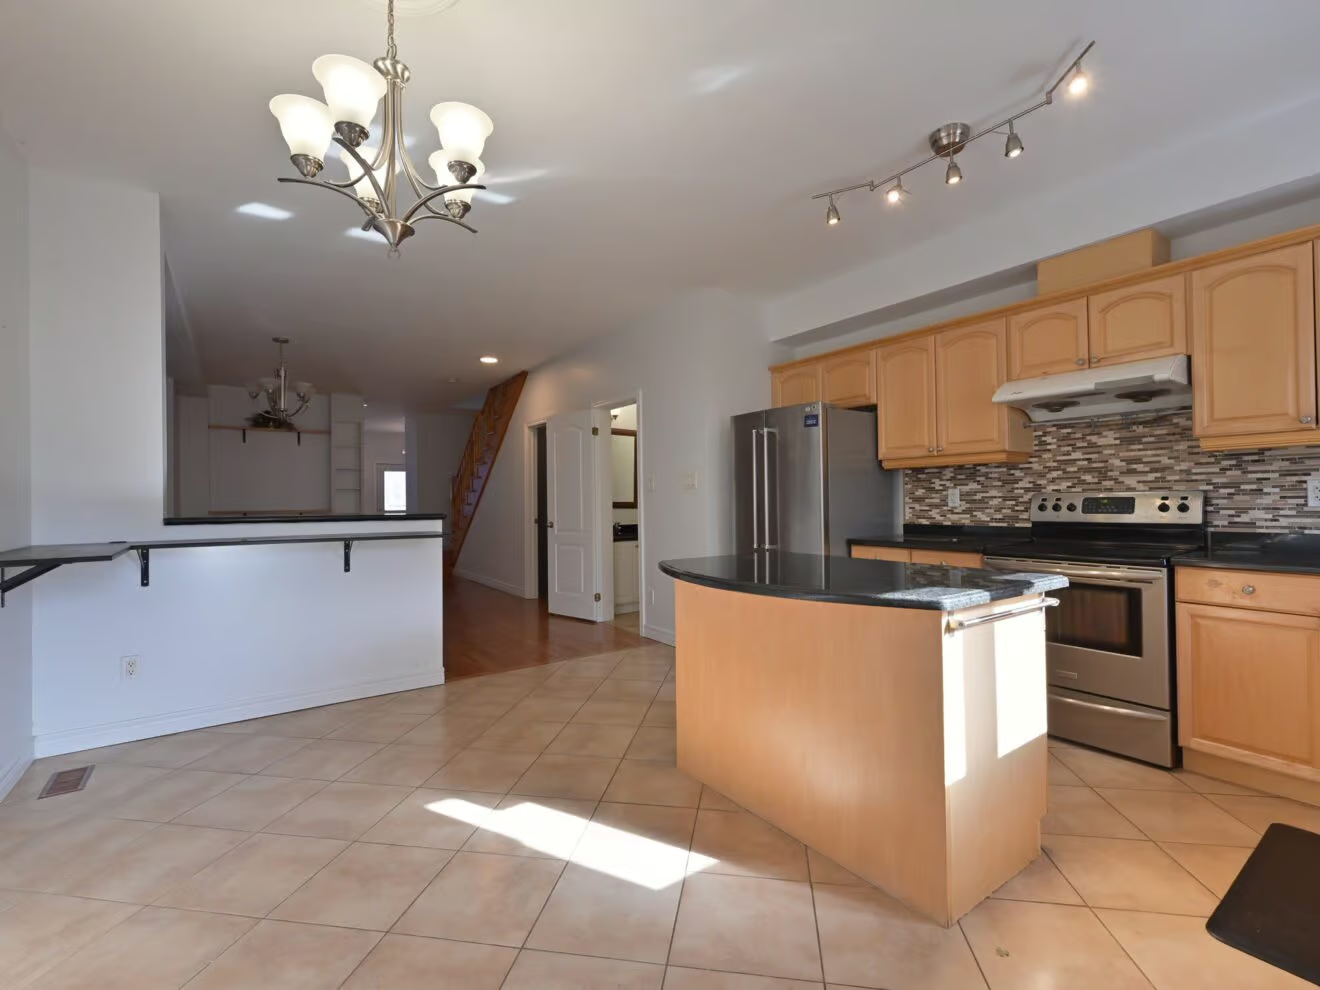
Kitchen
The kitchen was a focal point of the house, as it would be in any home. The cabinets were in great shape, just an out-dated colour, so we had those professionally spray-painted a more modern colour and we replaced all the hardware. It’s amazing how new hardware can completely change the style of existing cabinets! We left the counters and the backsplash, as that wasn’t in the budget, but replaced all the appliances with new, stainless steel.

Basement
The basement was underused, and the “storage room,” which had an uncapped water meter and exposed pipes, had so much potential! We immediately decided it should be a bedroom to add value to the home, so we built a closet around the pipes and water meter, stripped off the awkward quarter-round they had used as a chair-rail, and replaced the flooring with new laminate.
The basement apartment was in very rough shape and we had to replace all the laminate flooring, but since it’s “only” a basement, we used very cost-effective materials which looked amazing in photos! We moved two kitchen appliances from the main house into the basement, and replaced one other appliance, but left the existing cabinets and the counter. With painting and new lighting, the apartment felt cleaner, brighter, and larger!
Final Touches
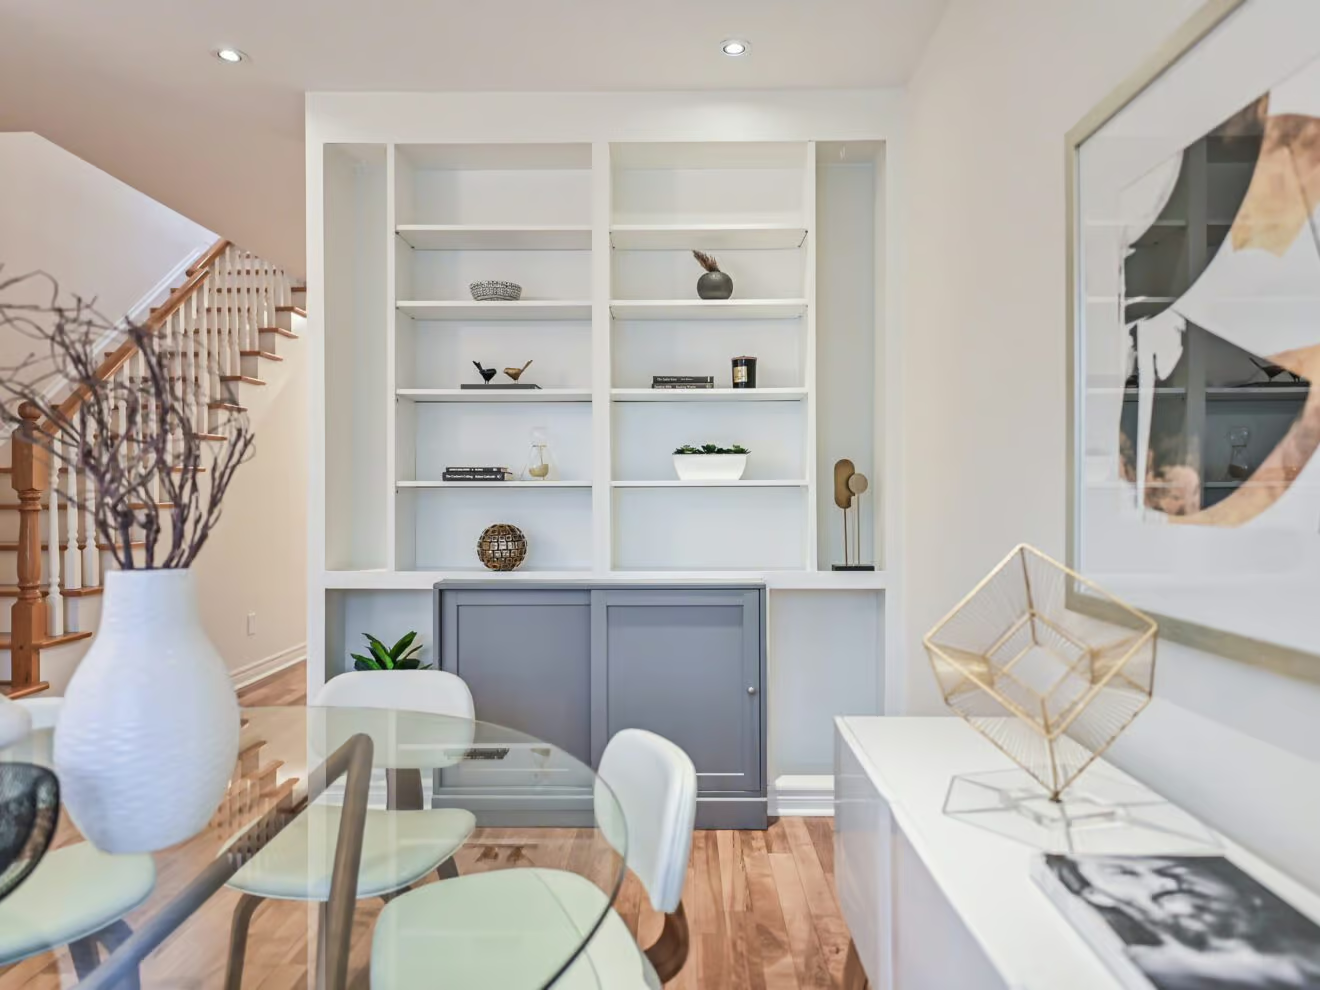
We did a lot of “little things” throughout the home that don’t need to be inventoried, but an example would be, say, replacing all the faded and yellowed lightswitch plates. These cost literally a few dollars each and can be replaced by anybody with a screwdriver and a little knowhow. It’s a great way to clean and modernize a space at a low cost.
Junk Removal
We cleared some old furniture on the back deck, some planters in the backyard, and a slew of items that just sort of seemed to appear over the years, as tenants moved in and out, and we had the front and back doors painted to offer a more welcoming first impression.

Result
The fact that we have a contractor in our Rolodex that we know and trust (the only contractor in the city for which we say that) gave us supreme confidence in our ability to pull this job off. The final bill came in exactly where the estimate did, and that’s something that very few contractors can provide. But most importantly, the work was finished on time, and we went ahead with our schedule.
Investment Breakdown
When we first met the sellers, we told them the house was worth around $1,400,000 in its current condition, based on the fact that it was a huge house, with a basement apartment, but had no parking, and was in rough shape.
We told the sellers if they invested $40,000 in the renovation we proposed, that we expected to sell the house for $1,550,000, or more. On our scheduled “offer night,” we received five bids and ultimately sold the house for $1,610,000.
Wondering what our selling process is like, start to finish? Get the Seller’s Guide here.

That $42,000 investment brought the sellers an additional $210,000 upon the sale of their home, but what was ultimately so satisfying for us was seeing every member of our team share in the accomplishment. The sellers ultimately reaped the financial rewards, but it was a huge feather in our cap to sell this property at this price.
Our designer, who helped us pick finishes, styles, and colours for the renovation, was over the moon. Our contractor was pleased as well, knowing that the both he and the sellers were able to benefit from the project. Even our photographer, who took the “Before & After” photos of the renovation and the property, wanted the play-by-play of the offer night and the final sale price.
Get to know our highly-skilled team of local experts here.
Project takeaway
This project was a true team effort, but it was predicated on one thing: trust. The sellers had to trust a group of real estate agents who wanted the sellers to make a significant financial outlay, when all the while, other real estate agents were telling them that the house could, would, should be listed in its original condition.


Our knowledge, experience, and contacts within the industry are what made this project possible, but it starts and ends with a seller who trusts our guidance.


Ready to Get Started?
It all starts with a conversation. Whether buying or selling, TRG can help you achieve your real estate goals. Get in touch with our team today to start the process.